Note: There are some affiliate links in this post, which means I get a small commission on any purchases made through the links, at no extra cost to you. Thanks for supporting To Love and To Learn!
We are officially in the third quarter of the year, a milestone that definitely snuck up on me a bit.
And while some of my new year’s resolutions have been stranded along some deserted roadsides along this yearly journey (like our plans to go to Oregon with Matt’s family–it’s now Yellowstone–or my goal to have a dinner party every quarter–since we just missed one–), others I’m still attempting to cling to, despite the fact that progress on many has seemed to stall.
But that’s all fodder for another post, anyway.
Today, I want to tell you how I’ve been doing with my 100 Hours in the Kitchen project.
Brief recap: this particular goal is for me to basically spend each quarter of the year focused on learning a different type of dish or cooking so that I can more actively work on my improving my cooking skills. Each recipe or dish that I try out must meet at least one of the three following criteria:
1) The dish must either employ a cooking technique I’m less familiar with or use ingredients that I’ve never worked with before,
OR
2) I must modify the existing recipe,
OR
3) I must make up the recipe myself.
For the first quarter of the year, I focused on soups, chowders, chilis, etc., and I learned that you really can basically make a soup from (almost) anything. In fact, many soups follow the same basic format: cook some aromatics–onions, garlic, celery, etc.–in some oil, add and cook your meat, chop up a bunch of leftover veggies and throw them in, cover the whole thing with water/broth, add spices and lots of salt, and finish off with some optional extras, like sour cream, tortilla chips, leftover pasta, cooked rice, cheese, avocado, etc. etc. etc.
For the second quarter (the one that just finished), I focused on incorporating more side dishes into our meals. I am notoriously terrible at making anything other than entrees much of the time, so this latest foray was for me to push myself to try to get more than just the one main dish on the table.
Most of the time, meeting that goal just involved roasting or sauteing whatever vegetables we had lying around, making a simple fruit or veggie salad, or sometimes baking up a new bread recipe, but I can say with 100% certainty that the process (especially of roasting so many different things) has made me much more comfortable with pairing entrees with appropriate sides and has taught me to just trust my instincts already (since almost all of the dishes I’ve made up thus far have turned out favorably).
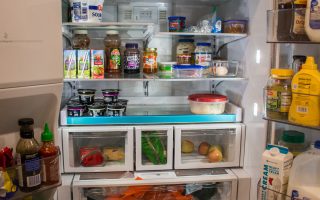
Now, since I’m on this stint of not wasting food and learning to cook more economically in preparation for our reduced income now that I’m staying at home, I wanted to focus my third quarter of this 100 Hours in the Kitchen Project on using up all the bits and pieces of various food products and learning to save food that’s on the brink of going bad.
Luckily for me, the two food types I’ve focused on so far (soups and side dishes/salads) are excellent ways to do just that. I’ve also been reading this fabulous book that is a mix of both poetic writing AND practical advice on how to not waste in the food kitchen.
Here are some of the foods I want to specifically learn to deal with rather than throwing away:
*bread crusts
*leftover rice (esp. that’s a bit dried out/crusty)
*herb stems and browning herb leaves
*the dregs of various bottles (mustard, mayo, salad dressing, etc.)
*mushy pasta
*meat that’s overcooked (aka, dry/tough)
*basically any produce that’s on the verge
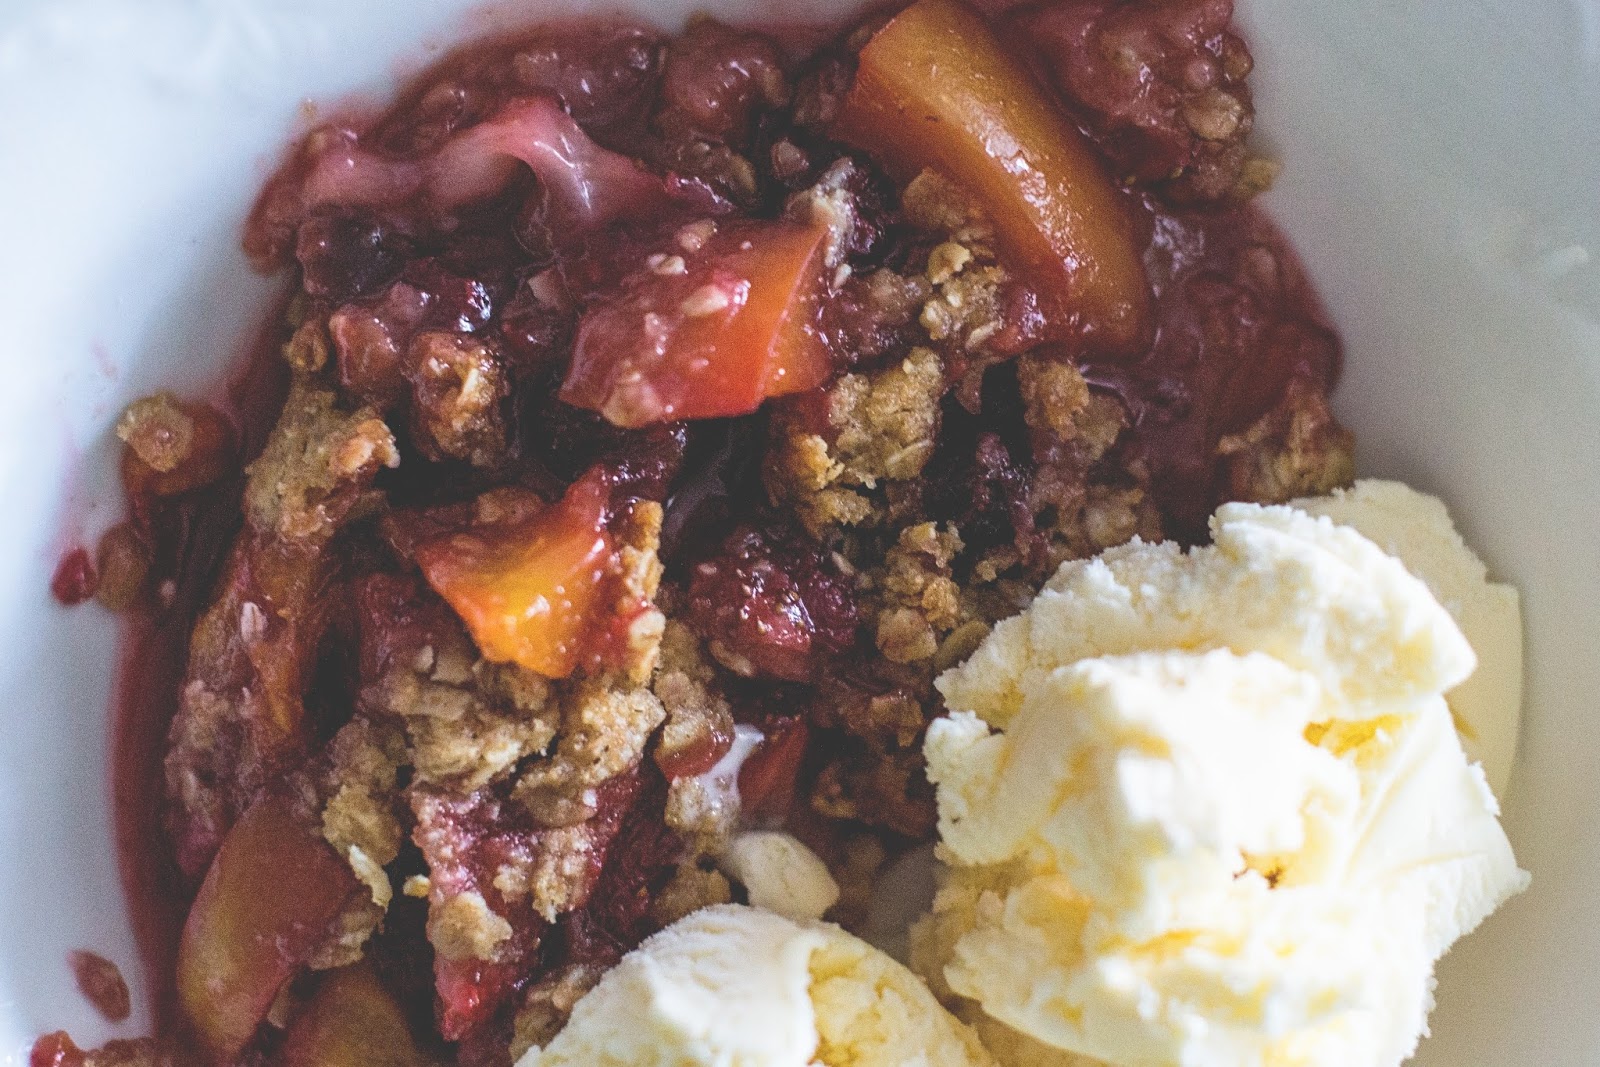
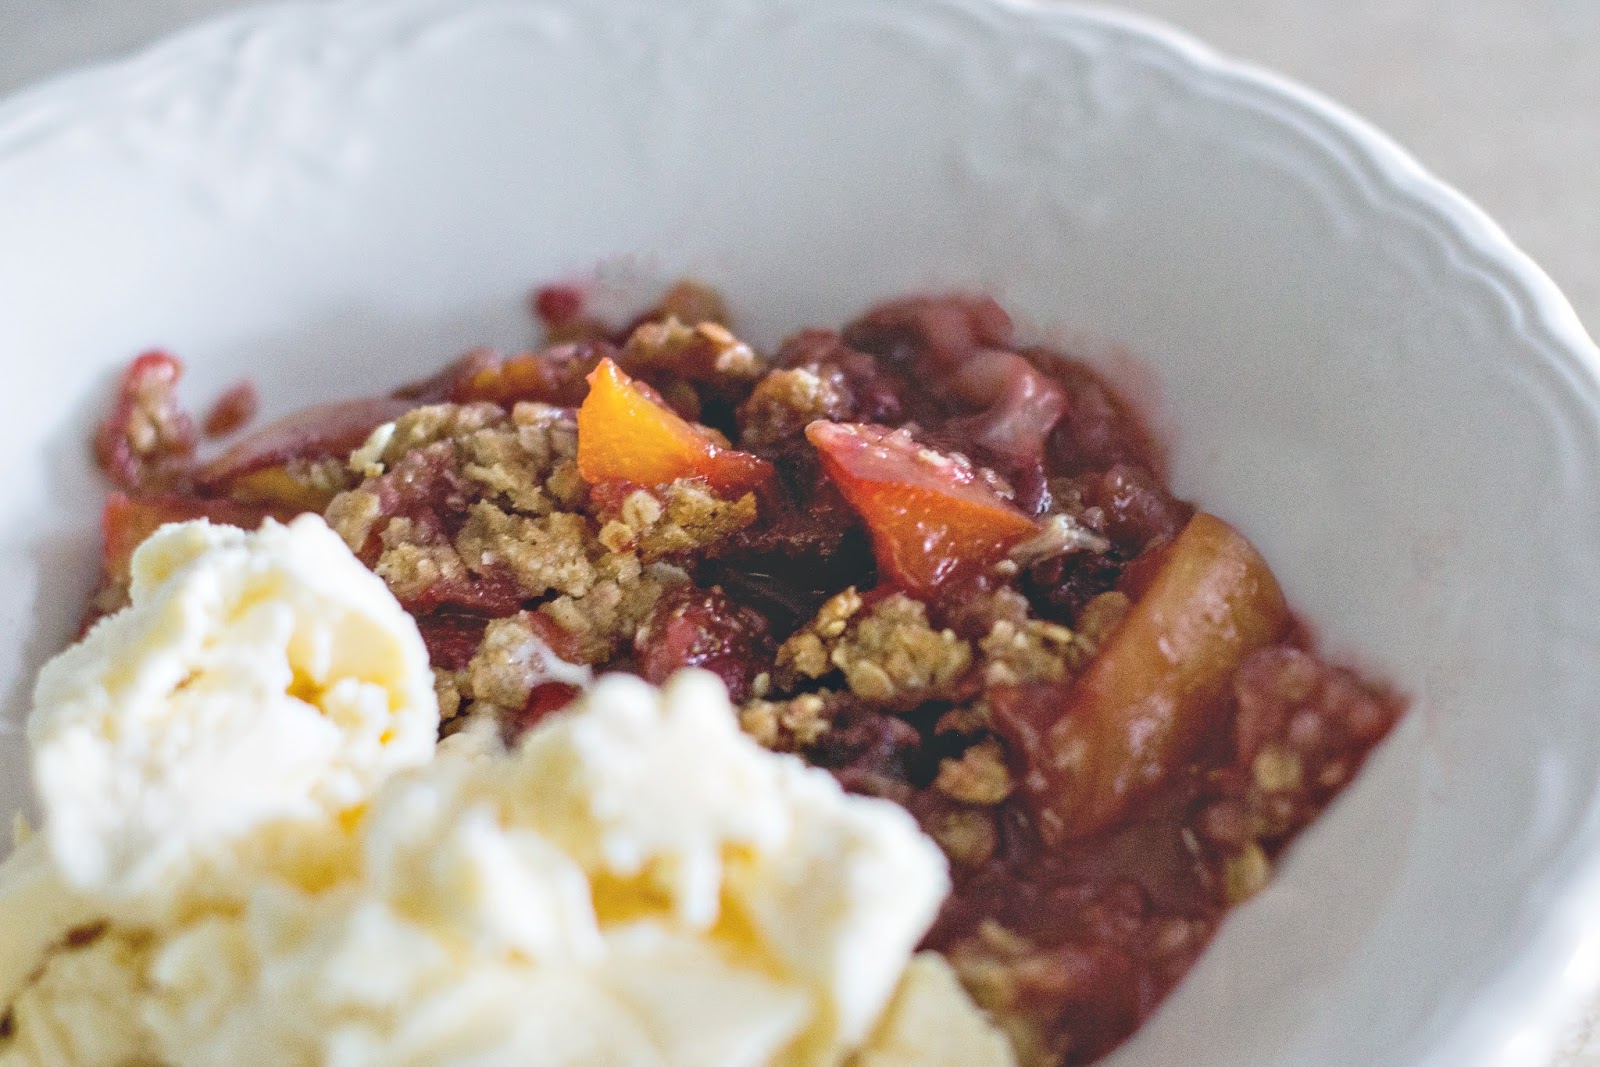
I’ve already been working on this for a few weeks now, and so as a little bonus, here’s a super easy rule-of-thumb recipe we tried out this week for a fruit crumble:
One Crumble, Any Fruit (from Bon Appetit magazine)
1. For the crumble, start with equal amounts of oats and flour. (I used 1/2 cup oats, 1/4 cup white flour, 1/4 cup wheat flour)
2. Add in some brown sugar and spices (cinnamon, allspice, ginger, nutmeg, etc.). As a rule of thumb, you want the brown sugar to be around a fourth of the total amount of oats/flour you put in. (So I put in a 1/4 cup brown sugar–unpacked–into my oats/flour mixture, along with a few hearty shakes of cinnamon and allspice). Add in a 1/4 tsp. of salt here, too.
3. Using your hands or two butter knives, cut in enough cold butter for the mixture to no longer have any dry spots. (I used 3 tablespoons.)
4. Chop up whatever fruits you have lying around that are on the verge. (I used 3 nectarines and about a half-pint of rather wrinkly raspberries and strawberries, but you could use most any fruit here, including cherries, apples, peaches, rhubarb, blueberries…)
Note: Don’t be shy about using produce that is well past its prime–our nectarines were bruised and even oozing slightly from the corners (so I just cut off all the brown bits), and the berries were shrivelly and darker than normal and basically everything short of appetizing. Just put it all in anyway—as long as the fruit is not moldy or obviously rotten, it will still turn out. Really!
5. Mix your fruit with enough white sugar to form a sweet syrup (I used a little less than a 1/3 cup for mine), and add in about a half tablespoon of lemon juice and about 1/2 tsp. of vanilla.
6. Put your fruit mixture in the bottom of an oven-safe dish (I used a 8 x 8 square glass one) and crumble the oats/flour mixture over the top. Bake at 350 degrees for anywhere from 35-50 minutes, or until the fruit mixture is hot and bubbly and the crumble on top is browned.
7. Serve with vanilla ice cream (duh).
***If you know of any ways you personally use up any of the odds/ends of foods that I listed above, I would LOVE your input as I move forward!***


