

I have always been a bit obsessed with taking pictures—it was an obsession that started with the disposable cameras of my girls’ camp days that has continued (with ever increasing enthusiasm) to my latest DSLR purchase. In my friend circle growing up, I was generally the one who could be counted on to capture everything on camera and share it with everyone later (I still have over 10 photo albums I took from my junior high and high school days alone). Now, as my natural affinity with photography becomes even stronger, I find myself intent on documenting everything I can, from the small moments of everyday life to the momentous occasions that come around only every now and then.
Through the years, I’ve definitely picked up on some tricks and tips that have helped the quality of my photos immensely. Today I’ll do you the favor of passing some of those along to you (using the photos from my family’s recent vacation to Bear Lake to illustrate).
Top 5 Tips for Better Vacation Photos
1. Get Closer
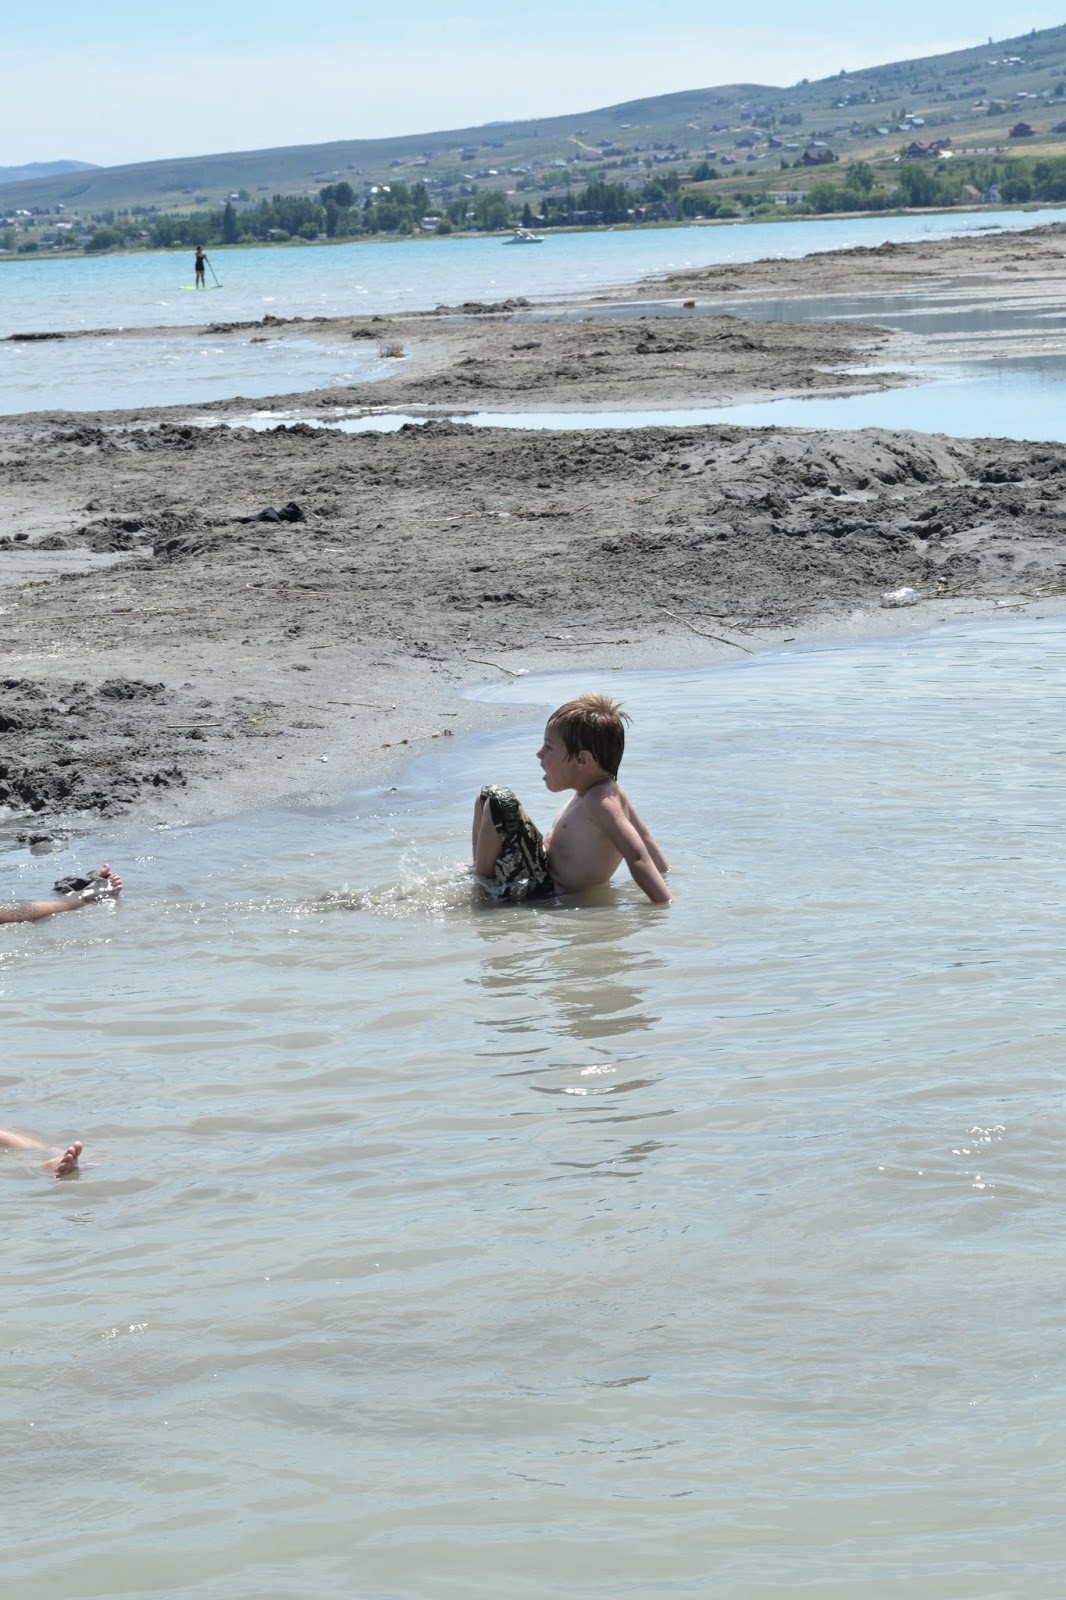
In this pic below, you’ll notice that I have a nice photo-worthy moment, but that the picture is only so-so. One of the easiest ways to make most any photo better is to get closer to your subject, especially if you have a lot of space around them in the frame of the picture (that isn’t that exciting to look at).

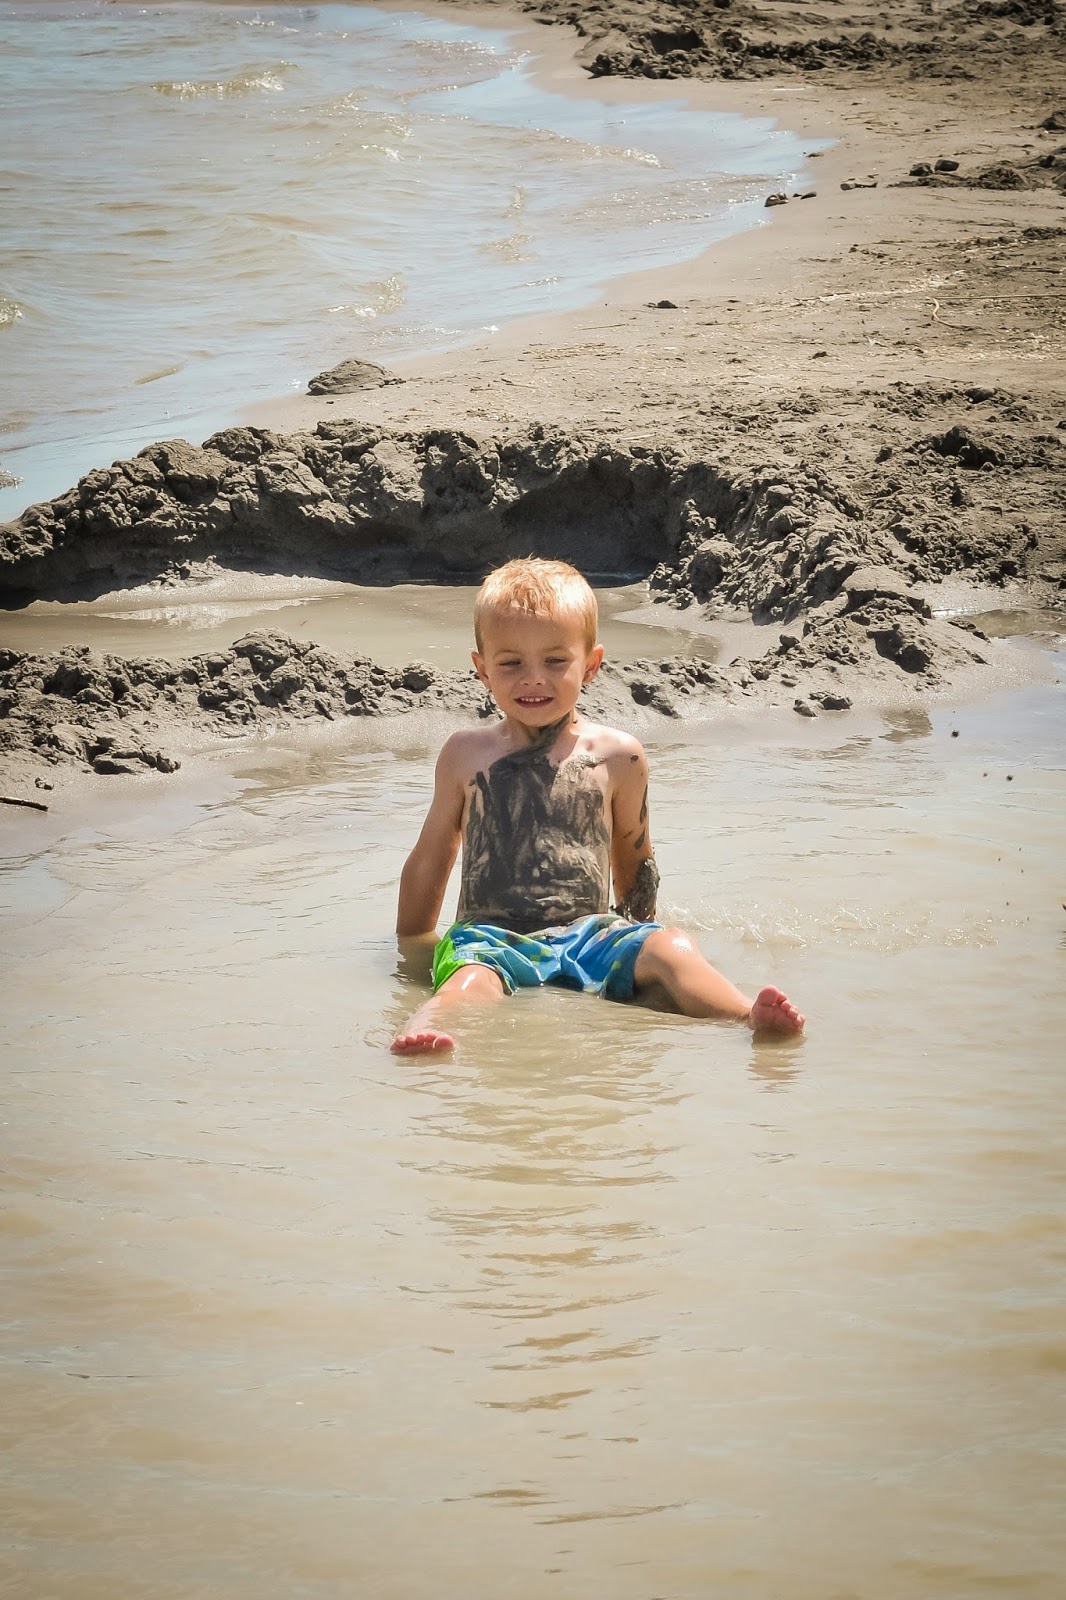
See what a difference getting a little closer makes? You can more easily see the expressions on their faces, and by crouching down at their level, I’m also able to fix the space surrounding them so it’s a little more interesting than in the photo before.

Here are a couple other shots that are better because I simply got closer to the main subject(s):


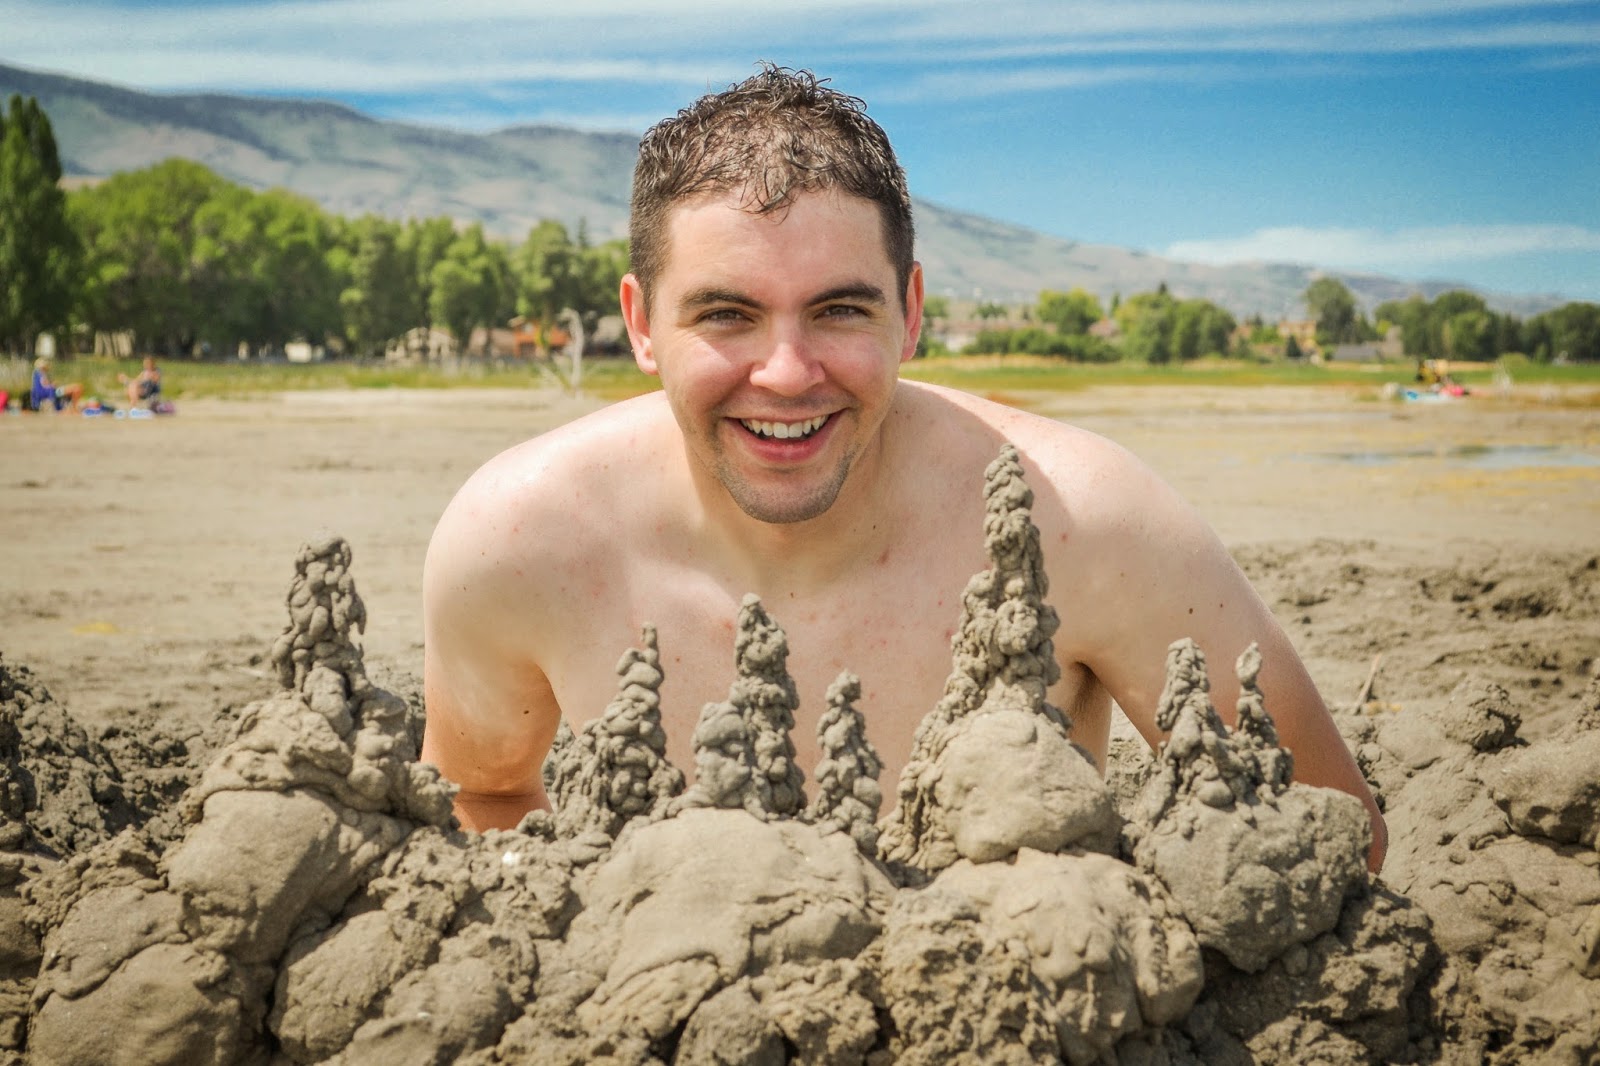
2. Take pictures at different angles (or “levels”).
This picture of my handsome husband would not have been nearly as interesting had I taken it from the standing position. Since he was crouched down by his mud creations, I wanted to crouch down as well to take the picture in order to more fully capture the detail of his “little mud city.” Had I taken the photo from above (where my natural vantage point was), I would have missed out on the detail of what he’d been working on in the sand, and his gaze/facial expression wouldn’t have been nearly as eye-catching.
There are certainly times when you’ll want to take a picture from above or below the subject as well. When in doubt of which level to take the picture from, try taking one from all angles and see which works best. After awhile, your instincts will just know whether it’s better to take it from above, from the subject’s eye level, or even from below the subject looking up.
Here’s an example of a slightly different angle—I wanted my nephew to look as small as he was (since I love pictures of adults helping children), so I took the picture just above my sister’s level so that it clearly showed the grown-up/child dynamic. Had I stooped down and taken the picture looking up at my sister, the effect would have been completely different—it would have been more like I was taking a photo as seen through a child’s perspective.

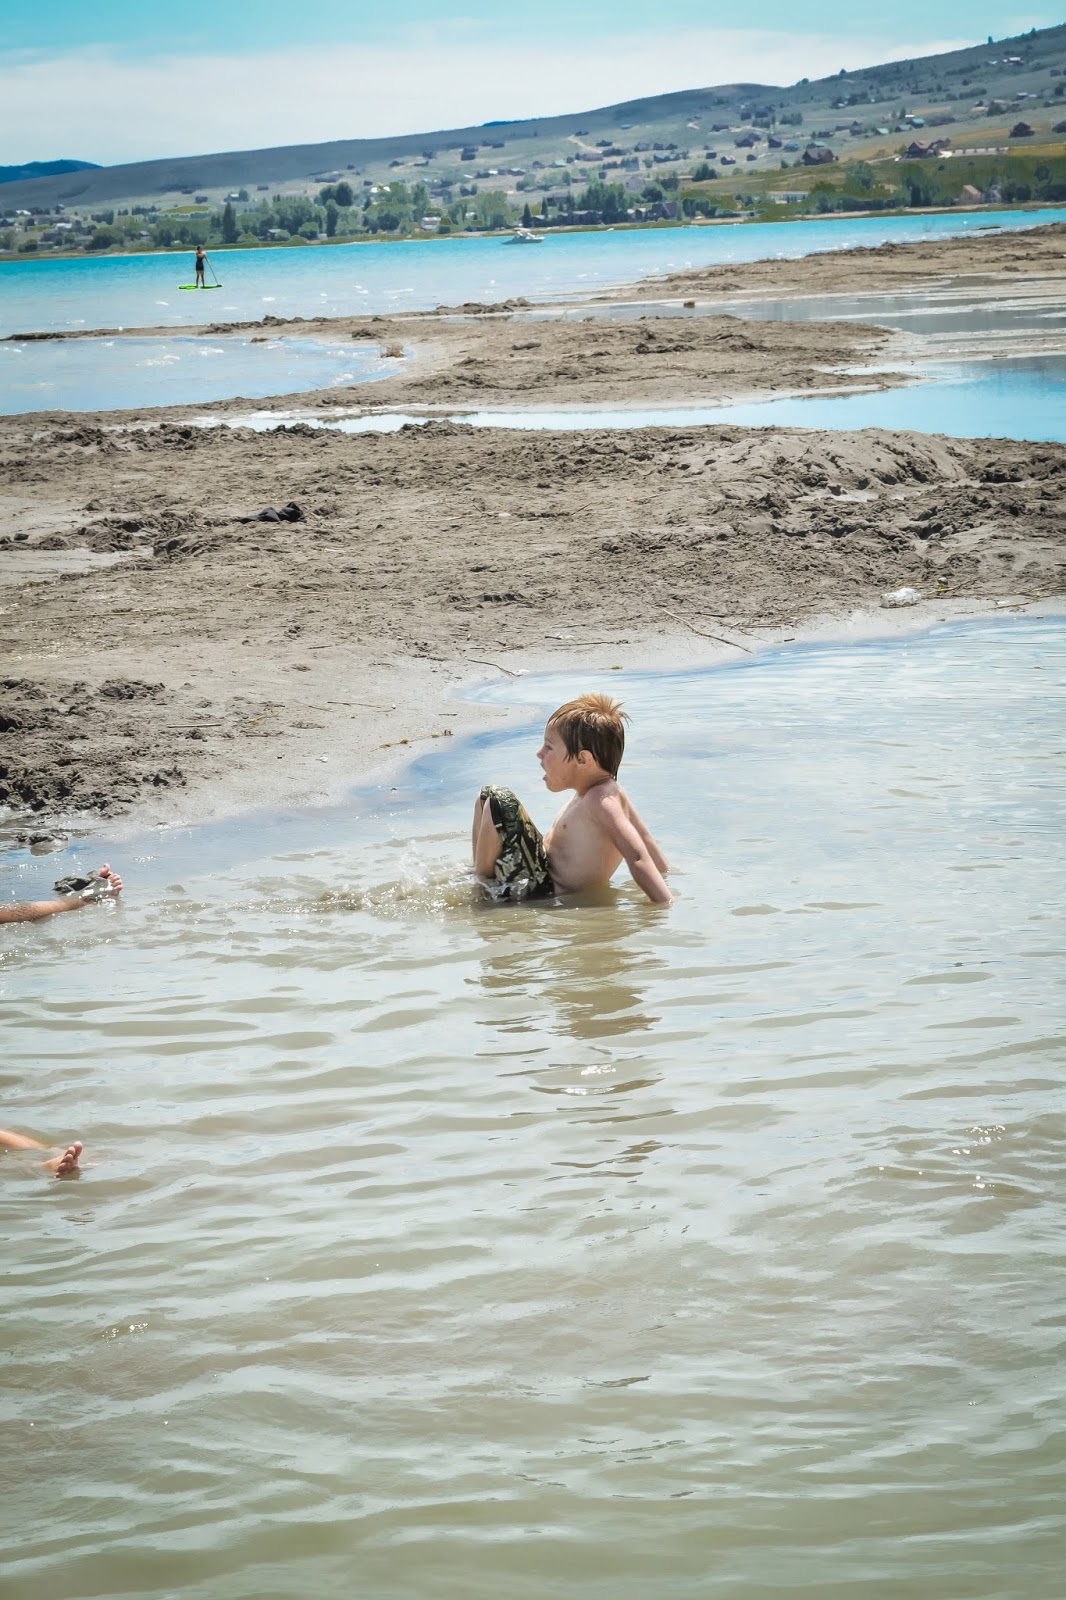
3. Take the time to edit your photos.
With so many free photo editing tools (like the various Instagram filters or the free Photoshop-like program GIMP), there is no excuse not to do some post-processing work on your pictures. Check out these before and afters:


My favorite programs for editing are Adobe Photoshop Elements (a much cheaper version of Photoshop that has most of the same main features of Photoshop but costs a fraction of the price–I got mine for only about $60) and Adobe Lightroom, which you can get for about $80 if you find a good discount and that allows you to automatically apply certain changes (called “presets”) upon importing your photos into the program. So if you find that you do a lot of the same changes on most images (lighten shadows, increase contrast and sharpness, etc.), then you can save all those changes as one preset and apply it to all images when you import them in. It’s a HUGE time saver!
4. Look for “Mirroring”
Often, humans will “mirror” each other’s actions without even realizing it. Some of my favorite pictures are candid (non-posed) shots of people subtly mirroring each other through facial expression, body positioning, etc. Obviously, this means you need to be on the lookout constantly for those moments, but the parallels between subjects really unify an image.


5. Use the Rule of Thirds.
This is the hardest compositional rule to get the hang of (I’m definitely still working on this!), but the Rule of Thirds basically means that you visually divide a photo into thirds, both from left to right and from top to bottom. The most interesting photos usually don’t place the subject in the obvious center (or if they do, they have leading lines coming from the left third and the right third that lead up to the middle subject).
Because in the Western world, we read from left to right, many of the most visually interesting photos we take have the main subject in the right third of the frame.
See how the photo below has a subject in each third of the frame going from left to right, with the most eye-grabbing subject in the right-hand third?

Here’s another example where the “subject” is in the right-hand frame:


Just as a note, the subject doesn’t always have to be off-center to be interesting. In the photo below on the left, the fact that the shot is so close to the subject makes it interesting, and with the shot on the right, the lines of the water and horizon and sand in the background make it more interesting.

There are a ton more tricks and tips for taking photos, but these are some of my favorites. Hope you found some of them helpful!


