Back in January, I did a post on seven of the house and yard projects we wanted to try and tackle this year. Now that we’re over halfway through 2019, I figured it’s time for an update! (Plus I’ll give you a mini update on a room that I HADN’T anticipated on changing!)
I’ve copied each item (in bold) directly from the original post, and you’ll notice that anything crossed out is a project we’ve completed, and anything in red means we’ve made measurable progress.
Note: There are affiliate links in this post, which means I get a small commission on any purchases made through these links, at no extra cost to you. Thanks for supporting To Love and To Learn!
- UPSTAIRS BATHROOM:
Add shelves above the toilet, and replace the towel rod with towel hooks instead.(Other, less probable hopes for the year:Replace the hardware on the cabinets, and update the light fixture.)


You might have already seen the post I did on our $100 bathroom makeover, but if you haven’t, it’s definitely worth checking out! I initially didn’t want to do anything in our upstairs bathroom until we could do EVERYTHING, but seeing as that could be years down the road, I figured it was silly to leave it super bland and boring in the meantime.
Even now, months after refreshing this space, I still get a little boost every time I go in the bathroom, and I’m SO glad we didn’t wait. I still have hopes of being able to replace the light fixture this year (I have my eye on this one, which is slightly different than the one I mentioned in the bathroom post), and as it’s only about $100, it could very well be a possibility to buy (relatively) soon.
As mentioned above, I didn’t think we’d be able to swing new hardware quite yet, but when I came across D. Lawless Hardware’s site and saw how reasonable their prices were, I decided to jump on it (and am already pricing out replacing the hardware in our kitchen and other bathroom as well). Hot Tip: You can also save 10% off your first order by signing up for their email list.
You Might Also Like: Our Basement Bathroom Before/After
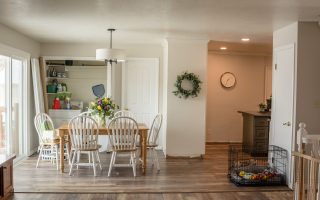
2. KIDS’ ROOM: Hang up artwork, and reconfigure the space for the crib (since Mathias will be moving in here shortly). Also, add gallery bookshelves to the walls. (Other, less probable hope for the year: Update light fixture.)

This room admittedly doesn’t look better with the addition of all the extra furniture in here (we added the crib, and we also moved my sewing cabinet in here, though that will eventually go down in our office), but it’s been a total sanity-saver at any rate to have the baby sleeping in here rather than in our room.


We did get the awesome painting by my mother-in-law hung up in here (the elephant pic above), but we have yet to hang up anything else. My plan is to commission Matt to build those gallery shelves as soon as he’s done building our Chicken Palace (seriously, it’s huge—see pic below), but it’s a toss-up between me wanting him to do that first or the floating shelves for the basement, so we’ll see which seems more pressing. This next month, I also am budgeting for a stuffed animal hammock (I have my eye on this top-rated one that’s only $12.98) because as you can see from the pic above, the stuffed animal situation in the corner is getting out of control.

3. MASTER BEDROOM: Move that adorable sleeping baby into his own room (and put away the Pack ‘n Play for the time being). Finally hang up some artwork on the walls. Commission Matt to make those bedside tables I want out of the cool ammo boxes we got at a garage sale. (Other, less probable hopes for the year: Rig up some sort of headboard, and have hanging sconce lights rather than lamps flanking the bed.)

Even though moving the Pack ‘n Play out is basically all we’ve done (and cleaned up the clutter), it’s still made a big difference in the feel of the room. Of course, we’ll have a Pack ‘n Play BACK in the room with the arrival of our third (probably around the end of the year), but we’ll enjoy the extra space while we can.


Since ordering a lot of canvas prints can get expensive, I’m looking into making them myself since it doesn’t seem *too* hard from the tutorials I’ve read online. I’ll keep you posted on whether that’s a massive fail or not, ha ha.
I don’t know if Matt will be totally burned out of projects by the time he gets around to the end tables (or if we’ll have the moolah to tackle them this year at all), but we’ll see.
4. BASEMENT FAMILY ROOM: Figure out if built-in bookshelves are a real possibility for this room (which would solve the big blank blue wall issue), update the lovely brown curtains that came with the house with something a little fresher, and do some floating shelves and pictures on the wall behind the couch. Also, get with the 21st century and update to a flat screen t.v. (and since we just inherited one from my mom, we no longer have any excuse). Oh, and get new throw pillows (these ones came with the house, as did the couch, and I’ve never liked them much).

We invited our neighbor over (who built his own custom-designed house) to get his opinion on our built-ins, and he definitely thought they’d work well in our space down there. Of course, as this project will probably cost around $500, I don’t know if we’ll get around to it this year, but at least now we have a better idea of what to expect in the scope of this project, especially since Matt took his woodworking/cabinetry class and has done a ton more projects in the meantime, so by the time we’re ready for this, it should hopefully go pretty fast (or at least not feel as complicated as it did before).

Updating those curtains made the HUGEST difference in this room–best $50 or so we could have spent. (In case you’re curious, we got curtains from IKEA that were very similar to these ones, with just a slightly different color scheme). You’ll notice that we got a new curtain rod as well and that we used the classic design trick of hanging it closer to the ceiling and pushing the curtains out to the edges of the window to make the room seem bigger.
We had a bunch of really old, small couch pillows left over from our plaid couch that we (and by we, I mean my mom) covered with discounted fabric for some quick (and inexpensive) throw pillows. We also took the blue pillows that were originally on our bed and put them down here as well.
Although I doubt the built-ins will get done this year (which means we’ll be sticking with our big, boxy t.v. for now), I *do * think we’ll get the floating shelves up, which will make a big difference too, as we have nothing on the walls at present.
5. OFFICE: Stop letting our “home office” be code for “the house’s official dumping ground.” Figure out what the heck to do in here. Also, put that closet door back on (that’s just barely in the frame), since it’s now been not-where-it-should-be for a year and a half. #truestory

Ha ha ha ha ha ha ha ha. Let’s just say, this room is worse now than it was when we started the year. And it doesn’t look like it will get better until our built-ins are up (since the books are one of the main problems).

I’m hoping that the office can be one of our “big plans” for next year, as I have a lot of ideas for that space.
6. SIDE YARD: Build two more raised garden beds (for a cutting garden and for more vegetables), and a sandbox for the kids.

Done and done! And we totally love both—the extra two beds really fill in the space a lot better (though our plants in them have been suffering terribly this year–guess straight up compost DOESN’T always work, like it did for us last year), and the kids play in the sandbox all the time, so that was money very well spent.

7. BONUS SIDE YARD: Graft non-wild apple tree starts onto our current apple tree situation.

So we DID actually graft non-wild scions onto our two trees (about two dozen, actually)…but not a single one made it. Major bummer. We’ll have to try again next year.
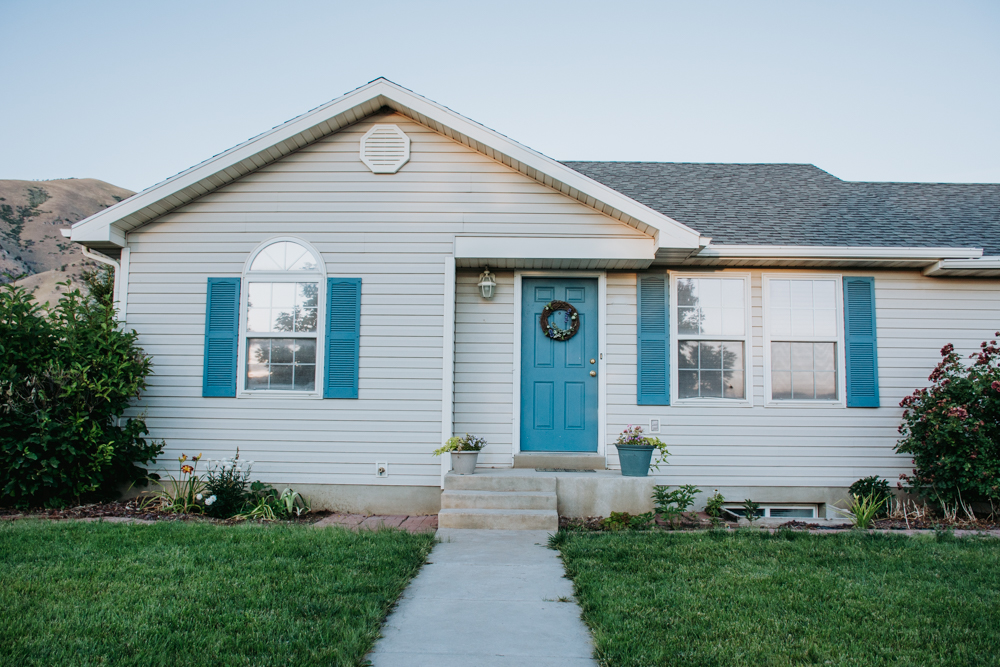
8. BONUS UPDATE: FRONT ROOM.

Our front living space was actually one of the few spaces that actually felt more finished soon after moving in, but we’ve updated a few notable things since then. For starters, we took out those old curtain hooks and then put wood trim up above the windows so it doesn’t look too bare (but so it still lets in the maximum amount of light). We also got a new couch about a year and a half ago (but I hadn’t ever done an update on that), and we also recently acquired two amazing wooden/rattan chairs from Matt’s grandma (and the glider was moved to the basement).
(Click here to see what this front room looked like when we moved in!)

My mom also helped me recover the piano bench in a fresh fabric, and we used some of the same fabric we’d used to cover the pillows downstairs for a couple up here, too.

The three poster-size pictures above the couch were getting pretty old (since they were all taken well before we’d added Mathias to our family), and as I have different plans for above the couch now, I framed a favorite scripture (that I had my very talented father do his lettering on) and am leaving that up in the interim. We also recently sold the two lamps on the piano (as I never really loved them) and updated a few things on the various surfaces of the room.

And there you have it! (Almost) all of the projects we’ve been working on over the past little while. Not too bad, actually!
What house and yard updates have you been able to tackle this year?
P. S. Have you joined my email list yet? Once or twice a month, I send out exclusive content only to subscribers—click here to make sure you don’t miss out!