

This week, we’re hosting our fourth Friendsgiving, which was a tradition that we kind of started by accident but that’s one that we’d love to keep on doing. However, in these four years, I’ve come a loooong way when it comes to making the event be as stress-free and smooth-running as possible, and today, I’m passing those tips on to you!
Note: There are affiliate links in this post, which help support To Love and To Learn. As always, I only link to products that I genuinely love and own or that I would honestly buy for myself!
Tip #1: Roast the turkey the night before.
The biggest stressor on any first-time host of Friendsgiving (or Thanksgiving) is getting the bird roasted well, and trust me when I say that now that I’ve tried this method (courtesy of my mother-in-law) of roasting the turkey overnight the night before, I’m not sure I’ll ever go back. Not only does it free up precious oven space for the morning of your big event, but it’s a HUGE load off your mind to know that the turkey is completely ready to go at start time, even if nothing else is.
Here’s how it’s done:
- Take your thawed, prepped turkey and zip-tie it into an oven bag (I’ve always used these ones), then place it breast-side down into an 8 x 11 casserole dish (if it’s small enough), a roasting pan, or, if desperate, a cookie sheet with sides (you MUST choose something that has sides, as there will be lots of juice). Make sure that the entire bag is on the cookie sheet or in the pan, as the bag will fill up with drippings and you don’t want to run the risk of the bag getting scorched and the juice going everywhere. (Note: I’ve always gone the simple route with prepping my turkey–once I’ve removed the innards (okay, once I’ve had my husband remove the innards), I pat the turkey totally dry with paper towels, then slide little pats of butter all under the skin and into the cavity and salt and pepper the exterior of the whole thing generously. And that’s it!)
- Put it in the oven at 350 degrees at 10:00 p.m. the night before your event for one hour.
- After an hour, turn the oven down to 200 or 250 degrees and let cook overnight.
- In the morning (starting pretty early—I usually set my alarm for 5:30 or so), start checking to see if the meat is done. (You’ll know it’s done when the meat has pulled back from the leg bones. To be extra sure, you can make a small puncture in the bag and put a meat thermometer into the thickest part to make sure it registers at least 165 degrees Fahrenheit.)
- Let the turkey cool. ***If you live in a cold climate, my mother-in-law actually tipped me off to the beauty of just putting the whole pan outside for an hour or so (with the turkey still firmly encased in the bag, of course, so nothing can get on it). The cold helps the juices to cool inside the meat, keeping it more moist.
- After it’s cooled for at least an hour, slice the turkey into a casserole dish and salt and pepper each layer, as well as spoon some of the drippings/juice over each layer (making sure that you set aside plenty for the gravy beforehand!). Do this until the casserole dish is filled. Refrigerate when finished.
- About an hour before you want to serve the meal, put the casserole dish into the oven at 350 degrees for about an hour to heat it up.
I know it’s an unusual method, but I’ve now tested it 3 years in a row and have loved the result every time! I highly recommend it if you’re looking for a way to cut down on your stress levels as host of The Big Event.
Tip #2: Don’t even try to do everything yourself.
Part of the fun of a Friendsgiving is seeing what dishes everyone will bring (especially if your friends are excellent cooks, as mine are!). Every year, we volunteer to do the turkey, gravy, rolls, and punch (my famous punch recipe to be posted later this week!), and I assign the rest of the dishes to whoever we’ve invited. ***Tip: Make sure you give your friends PLENTY of warning beforehand about what you’re expecting them to bring so they can be on the lookout for recipes, ingredients, etc. Also, if you want specific dishes to be present, you need to make specific assignments, so rather than just say, “Bring a side,” you need to say, “Bring mashed potatoes” or “Bring cranberry relish.” With my friends, we usually do a mix of the tried-and-true “expected” dishes (like mashed potatoes and pie) and the ones that are more general, like “bring a salad.” It means we get a good variety every year!
Also, just in case you’re curious about numbers, if it’s a smaller group (8 adults or less), I have each couple/individual bring two dishes, rather than just one. If it’s a bigger group (like 10-12), it’s a little easier to get away with having everyone just bring a LOT of one thing.
Tip #3: Make a detailed to-do list well in advance.
I actually have a to-do list that I’ve saved on our computer so that I can just bring it up every year and see what all needs to be done (and when). It includes details about when certain dishes need to be started, how long things take to cook, what needs to be cleaned, when I should go to the store to buy fresh flowers for the table, etc. I try to do as much as possible earlier on in the week (like keeping the house in a general state of tidiness and getting the tablecloth ironed and ready), so I’m not running around in a crazed state the morning of.
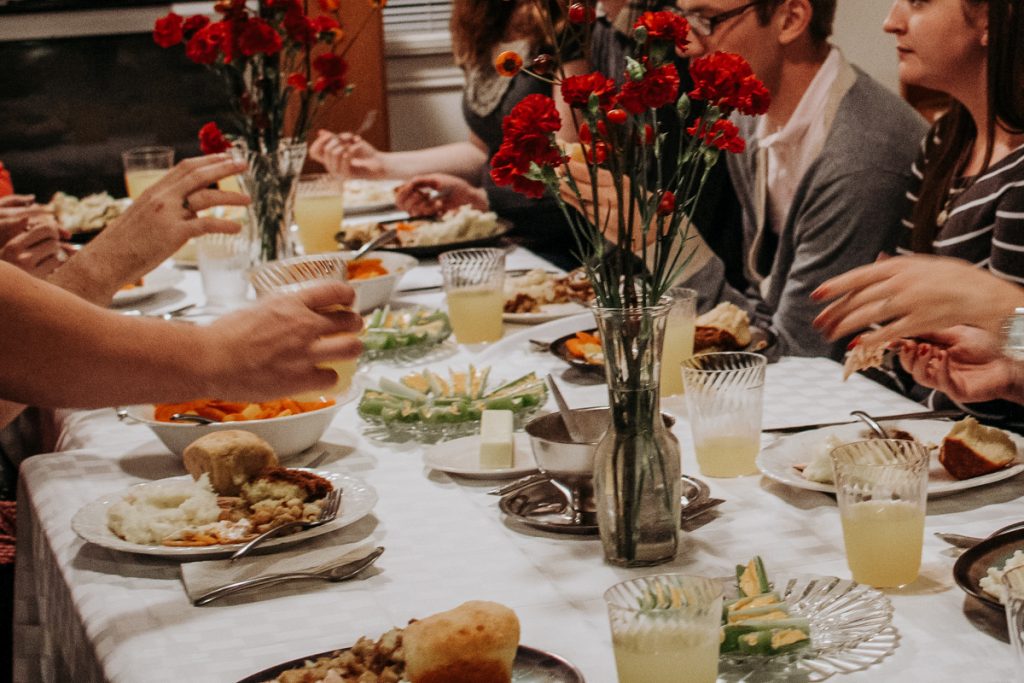
Speaking of tablecloths and decorations and such, I always keep it super simple–I have a patterned white tablecloth that I use for nearly every gathering (similar HERE), and I usually use the white dishes that my mom gave us for our wedding (similar HERE). For me, white is timeless and simple and never goes out of style (plus it works for basically every holiday!), so I’m glad that we have those pieces to fall back on. I also always get some flowers (just from the grocery store—nothing too fancy!) for the table, and will occasionally fill our super large crystal vase with oranges or lemons or some other such thing (see pic below). If I had my way this year, I would get a couple of these “birch” vases and fill them with greens or branches with autumn leaves (if I could still find any!) and do a simple cloche (I really love , though it’s a little pricier than what I’d want to spend) with small white and yellow gourds and pumpkins in the middle. With just three main decorations on the table, there would still be plenty of room for the food AND it would still look beautiful. That’s a win-win, in my book.
Tip #4: BUY THE TURKEY EARLY IN THE WEEK AND THAW THE TURKEY OUT.
For anyone who’s actually ever DONE a turkey before, this one seems so obvious it’s not even worth noting (because you figure everyone knows), but let me assure you—NOT EVERYONE KNOWS TO DO THIS (ahem, me my first year hosting). The first year we decided to do Friendsgiving, we had a wedding reception to go to the evening before, so I just figured we’d pick up the turkey right before, leave it out to thaw while we were gone at the reception, and then come back and try out my mother-in-law’s overnight roasting method.
Imagine my dismay when I realize that I was supposed to let the turkey thaw in the fridge for DAYS before I roasted it! (Insert panic emojis here.)
What we ended up doing (which I’m not sure how “food safe” this actually is) was running hot water constantly for about an hour before we had to go to the reception, then leaving it in cold water to continue to thaw while we were gone. When we got back, we continued to pour hot water on it (maybe even boiling water, if I remember correctly) until we were at least able to get the frozen giblet/neck out. Then we just roasted it partially frozen. (All told, the turkey still tasted great, but Matt and I were stressed out of our minds for HOURS about it!). Nowadays, I just buy my frozen turkey on the Monday or Tuesday before and just let it hang out in the fridge until roasting time.
***Note: You CAN buy fresh turkeys, but they’re about twice as expensive as frozen ones.
Tip #5: Don’t worry about having everything completely ready when people start arriving, and invite your friends into the kitchen to help with the last-minute prep!
One of the beauties of our Friendsgiving is that since we’ve all known each other for years, there’s no need to feel like we need to “put on a show” and make everything look perfect all the time. Sure, I still try to set a decent-looking table and have my end of things almost all ready by the time people start arriving, but chances are, your friends/guests will need to put the finishing touches on their dishes too and will appreciate the invite into the kitchen to help prepare–it builds a sense of camaraderie and teamwork when you all come together to get things ready, and it’s WAY more fun than just being stuck in the kitchen all by yourself while people wait anxiously in the next room, wishing they could help.
(Plus, I pick up great cooking tips this way! My friend Andrew will probably always be invited over to do the gravy for us because he just does such a fabulous job at it.)
Most of all, just learn to embrace it all—the mistakes AND the triumphs, the laughs together AND any awkward moments—
They’re what make this tradition so wonderful!

Have you ever hosted Friendsgiving or Thanksgiving? What are your best tips?


