Even though we regularly (okay, every 3 or so months) clean out our fridge, I was still a little wary of last week’s to-do list. I mean, I knew there were containers hanging out in the back that had been there since skinny jeans started becoming big, and I was a little nervous to find out just what they were.
I was right to be wary.
I found an old container of canned pumpkin that was so monstrously moldy that Matt said it looked like a small city had popped up and grown all over it. A hilly, green city.
It was awful.
Had the stench not been so nauseating, I might have even taken a picture for your viewing pleasure.
But I couldn’t handle it anymore–I ran that sucker out to the dumpster as fast as my booted foot could carry me.
But back to what you came here to see: the before & afters.
I will warn you, this week’s before & afters aren’t quite as dramatic as weeks past. Actually, in some of them, they might not look much better to you. However, the big difference now is that there actually is an organization scheme in place
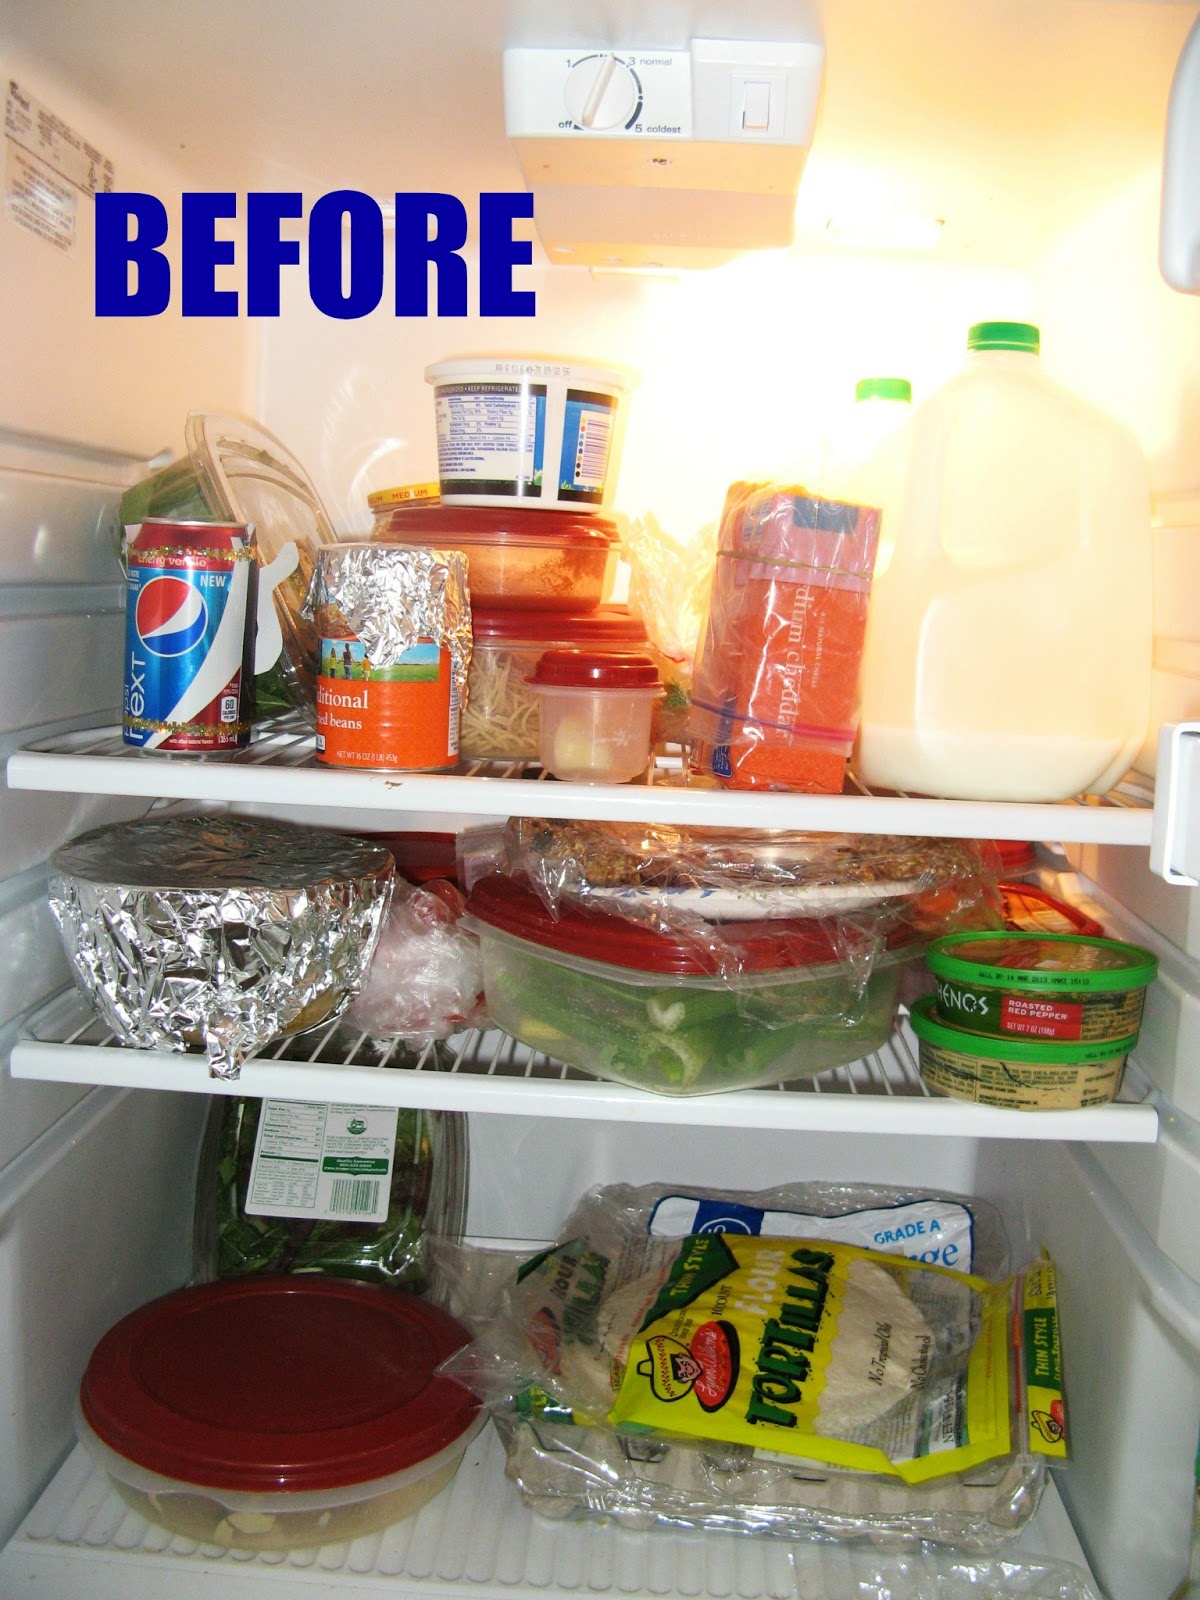
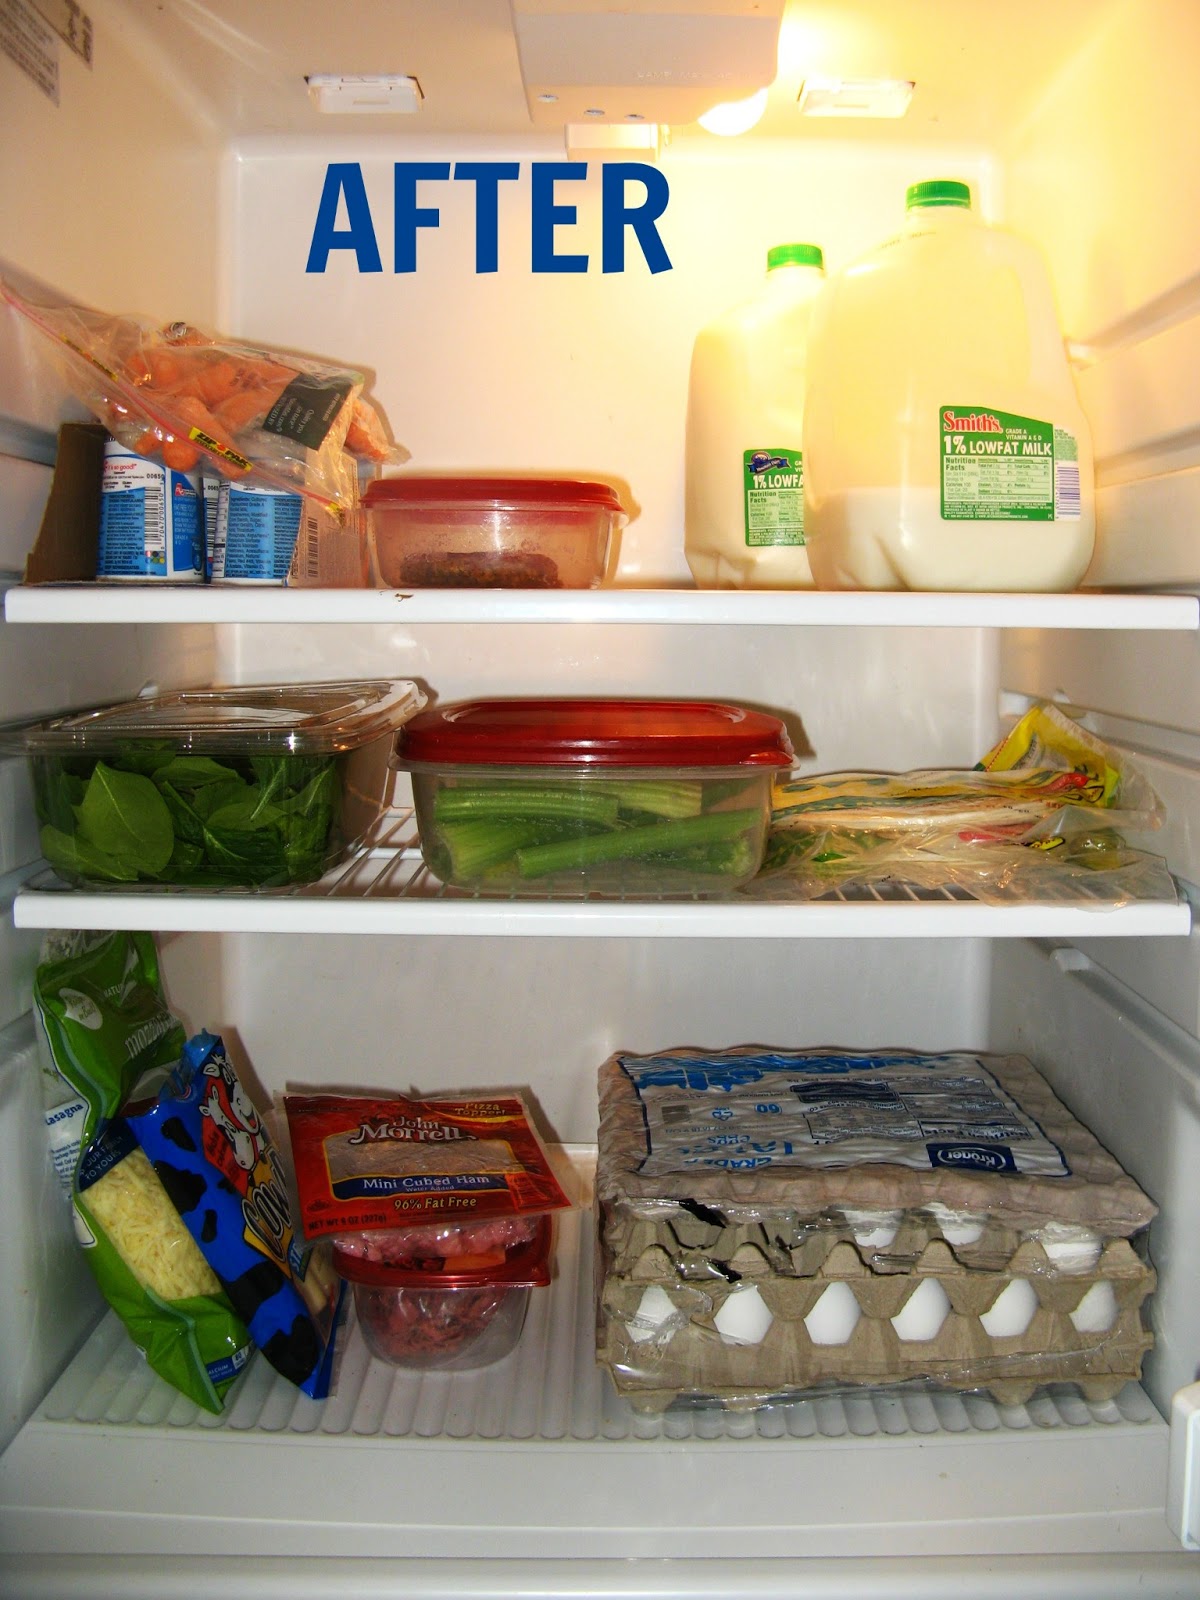
Our fridge’s new organization scheme is as follows:
Top Shelf: Drinks, healthy snacks, and any leftovers (so we can clearly see what we need to eat first and so the healthy stuff is in plain sight)
Middle Shelf: Food that needs to be prepared (ex: tortillas, plain spinach, etc.)
Bottom Shelf: Meat, cheese, and eggs
Bottom Drawer (not pictured): Fresh vegetables
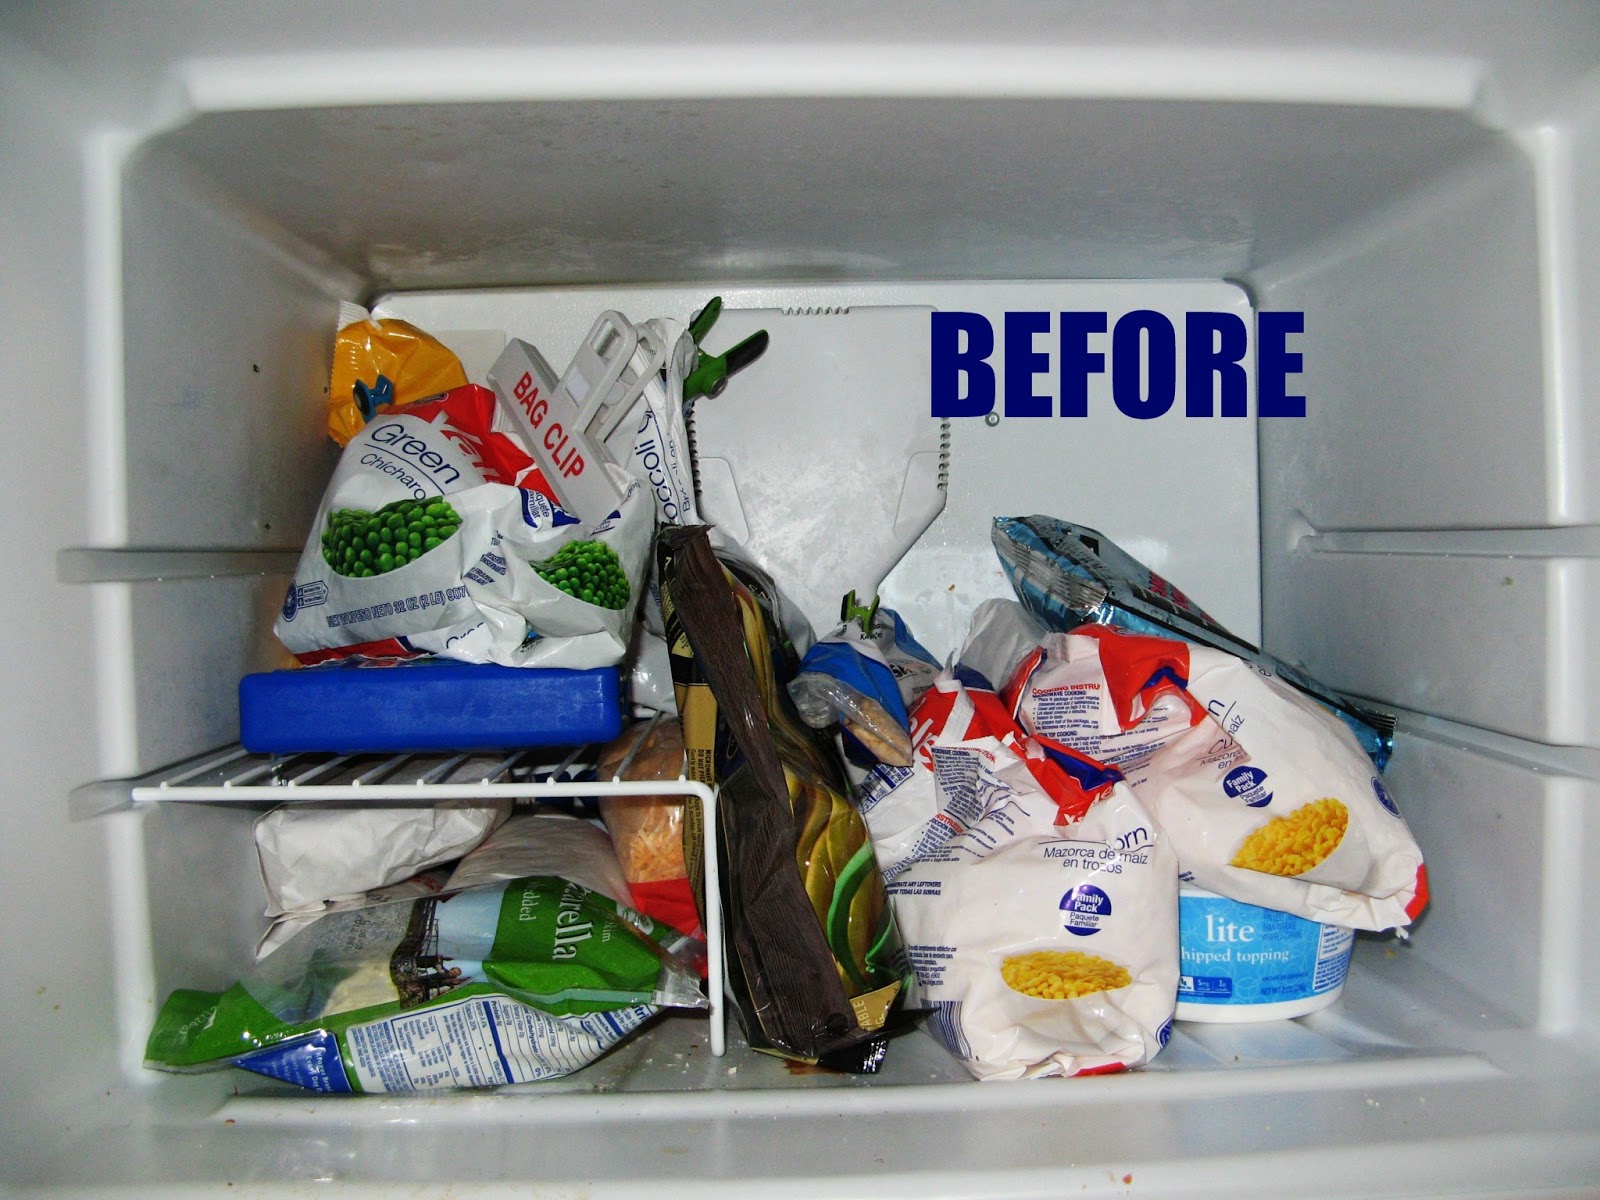

Our new freezer scheme:
Wherever everything will fit so it’s in plain sight, ha ha.
But seriously, the only things I decided for sure were to put the frozen fruit and dairy/butter on the door, put the vegetables (roughly) on the left, the cheese just below them, and the meat on the right.
(Notice how healthy our fridge and freezer are? No ice cream and lots of veggies? Yeah, we’re part-time vegetarians now. I feel so proud.)
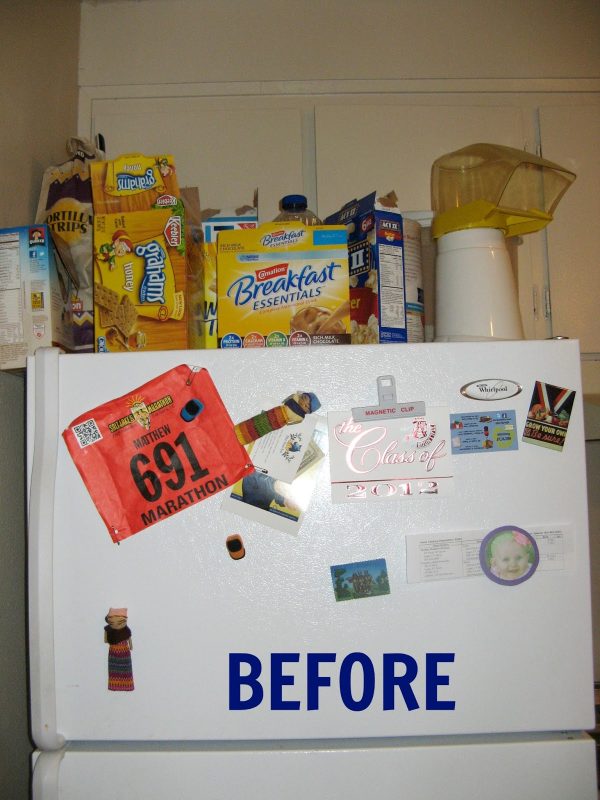
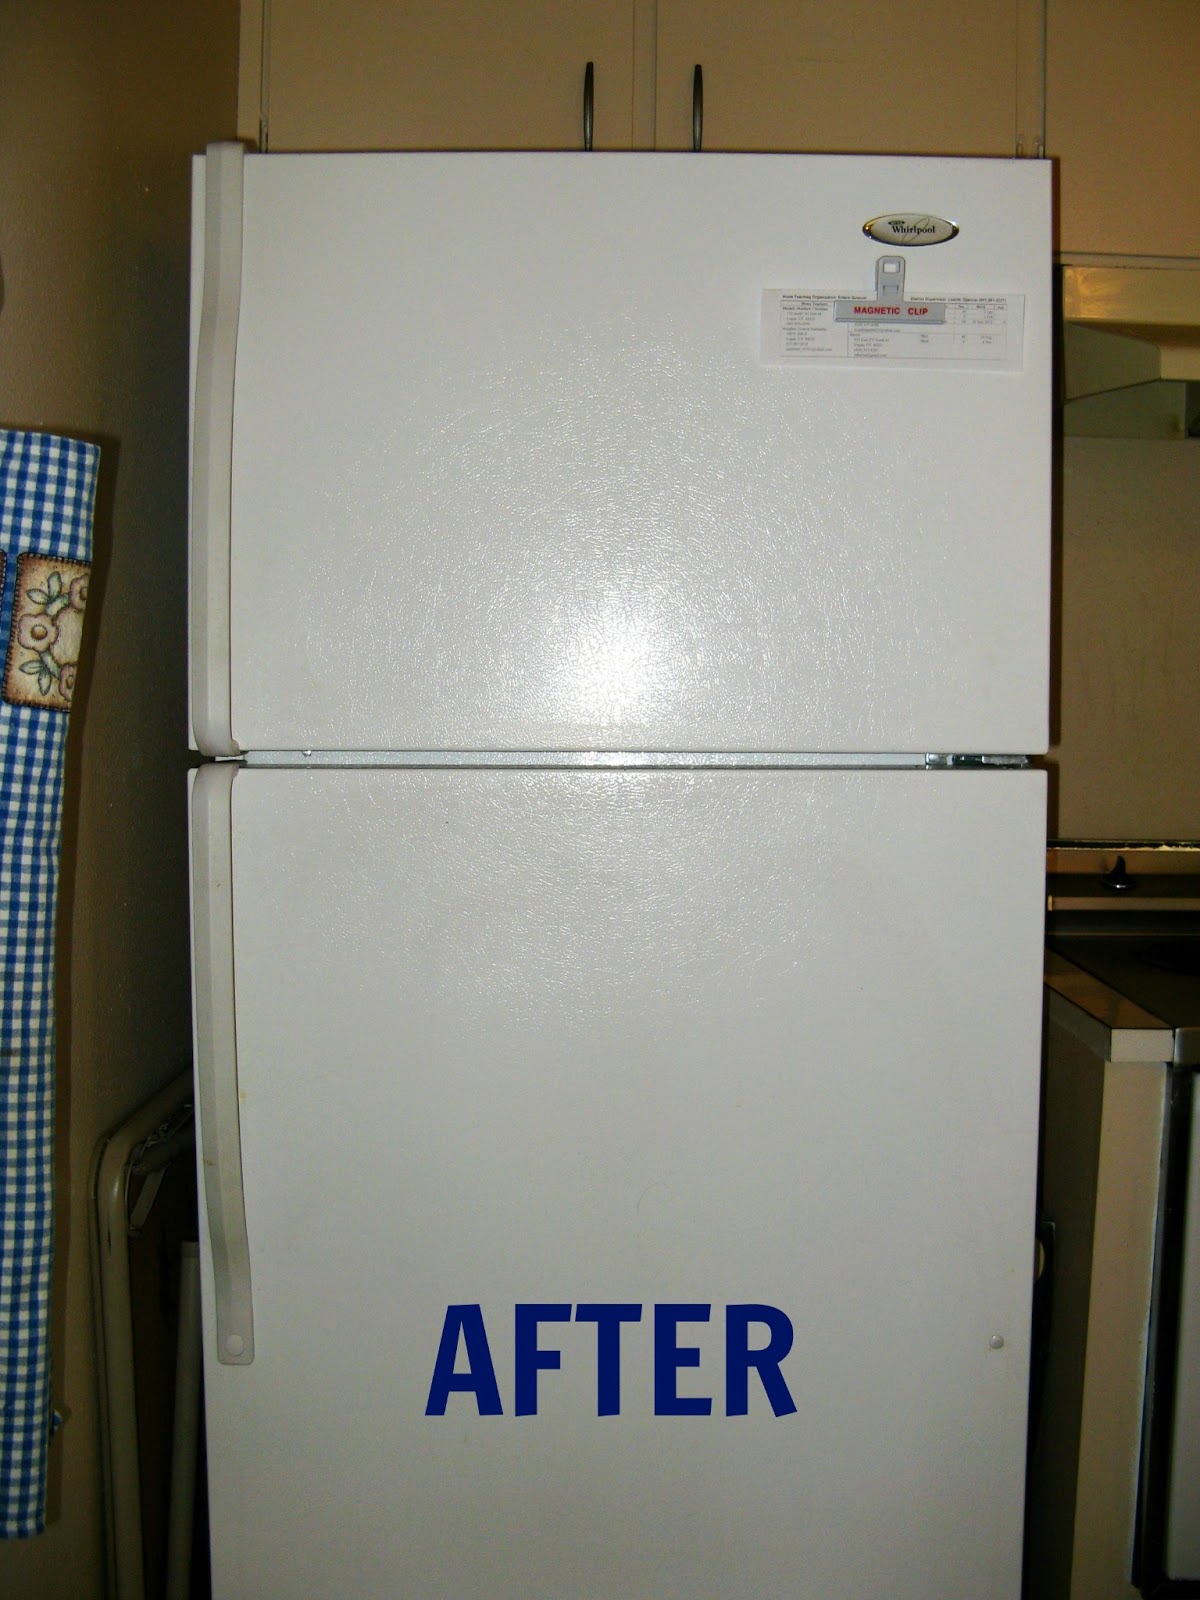
The biggest change is on the outside of the fridge, as you can see. Of course, what this picture doesn’t show you is that I actually cheated a little and DID put a couple things back on top (but not nearly as many as before). The only reason I didn’t include them in the picture is because I’m planning on taking them off as soon as we invest in a pantry shelf in a couple weeks.
Quick Stats:
Items Tossed/Donated: 2 (this is only including items I wouldn’t have thrown away w/o this challenge)
Items Left to Toss: 431
Money Spent This Week on Organizing: $0
In keeping with the goal of getting our main floor organized first (which includes our kitchen), I’ve decided that my next focus will be:
My Recipes
I’m really glad Organize Now (by Jennifer Ford Berry) has a section devoted exclusively to organizing your recipes because mine are getting out of control. I only recently really got into cooking (within the last two years), and I’ve been madly collecting every recipe I can get my hands on ever since.
This challenge couldn’t have come any sooner because those puppies are overflowing all over the place:

To-Do List
- Gather all the loose recipes you have lying around your house
- Recipes are not worth keeping unless you’ll actually prepare the dish. Sort and toss all recipes that:
- are ripped or hard to read (if it’s a favorite, transfer it to a new recipe card)
- you will never make
- There are a number of ways to store your recipes. Choose a system or product that will work best for you. Some possibilities are:
- Recipe box
- Three-ring binder with plastic slipcovers
- Photo album with sticky pages
- A blank recipe book you can write in
- In your computer
- Once you select your storage method, input your recipes in categories. For example:
- Appetizers
- Soups
- Vegetables
- Salads
- Main Dishes
- Bread
- Desserts
- Once your recipes are organized, make a list of the most commonly used items. The next time you go to the grocery store, take the list along and note the aisle number for each item. When you get home, type up a list according to the aisle number and print copies. Keep a copy of the list in your coupon caddy or with your ongoing grocery list to speed up shopping. (My mom totally used to do this, and it was awesome.)
- Pick out a recipe you have been saving and make the dish. There’s no point in saving the recipe if you don’t use it!
- Update your staples list
- Get together with a friend and cook several dishes. Then split them and take them home to freeze.
- Sort and organize all the loose recipes you have lying around.
- Sort through any loose recipes you’ve collected and throw away those you know you will never use. Organize the rest.
- Sort through your organized recipes and toss dishes you haven’t made in the past two years. Also toss recipes you made but didn’t enjoy.